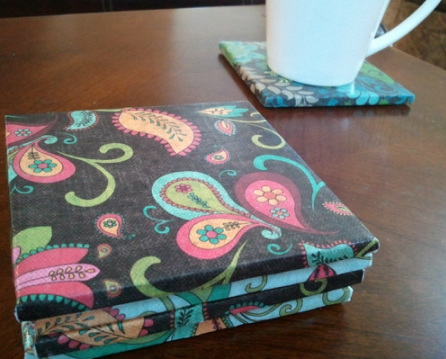
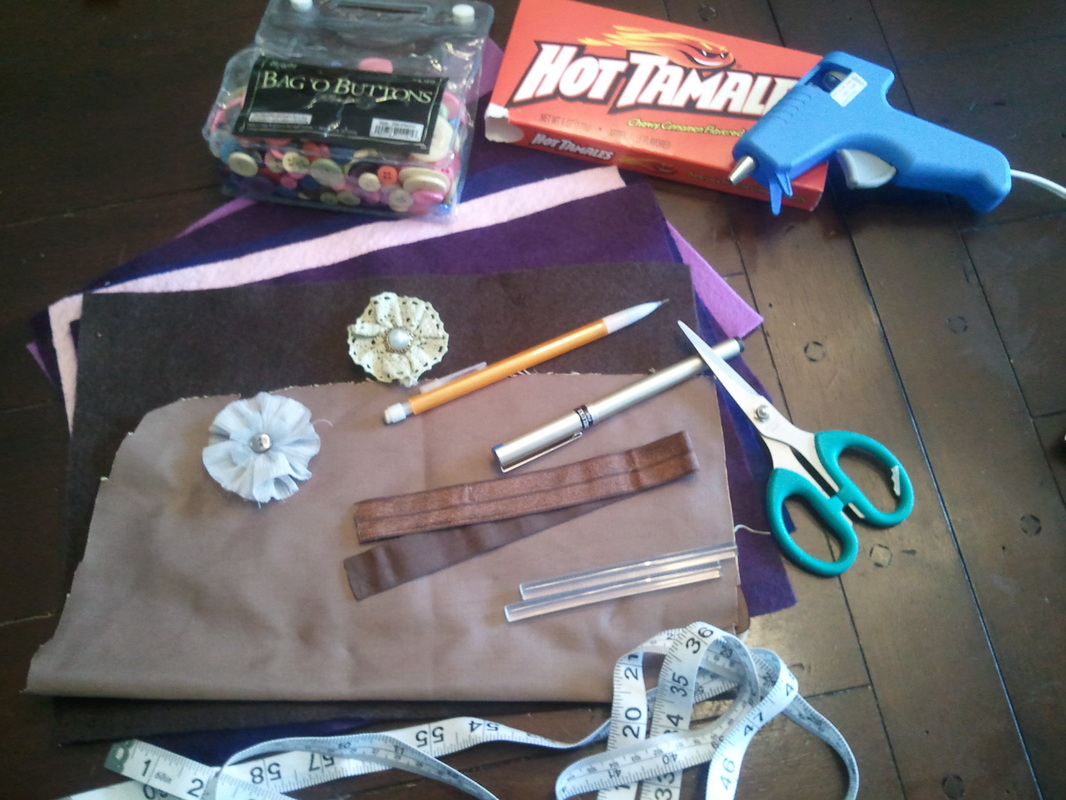
 In nearly seven years of marriage I don't think I have ever had coasters in my house. I don't know why. It is just one of those things you never remember to get at the store. Plus, it is so hard to find adorable coasters, don't you think? I decided to make my own version so that I could match them to my house. They are way cuter, they work great and they are cheap! Can't go wrong with that. I picked up eight square tiles from Home Depot for $0.16 a piece, three sheets of scrapbook paper for $0.50 each and one sheet of felt for $0.25 from Hobby Lobby. Here is how it works. 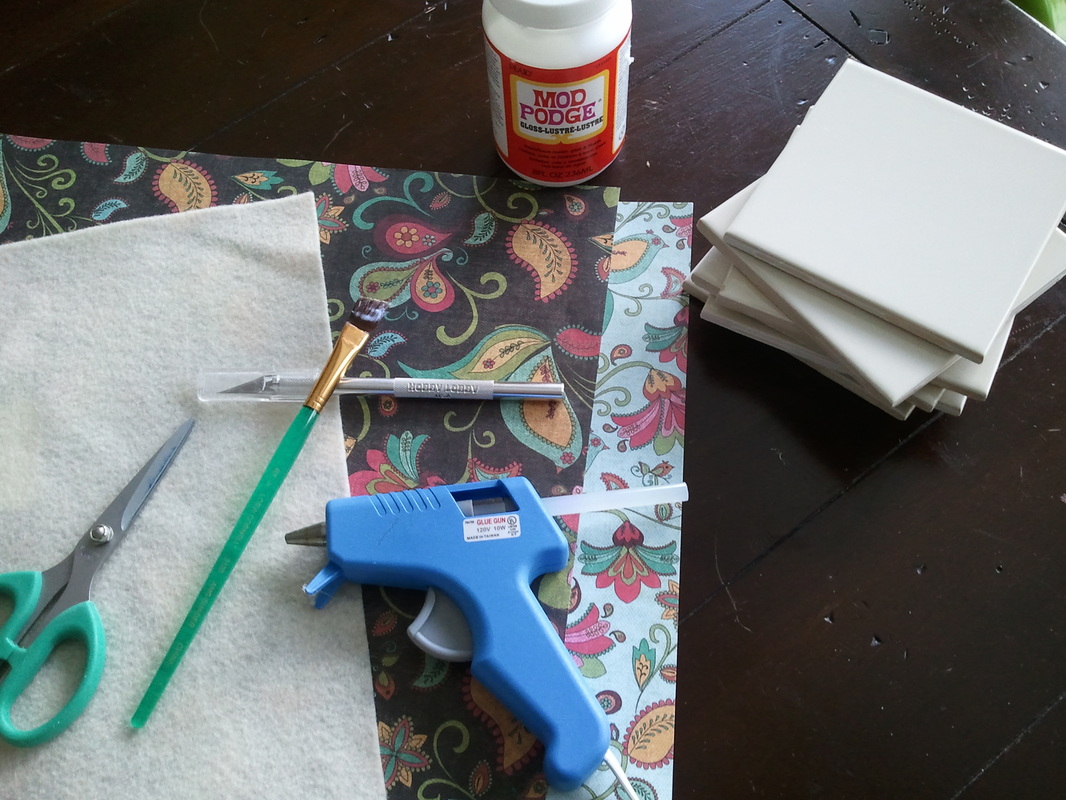
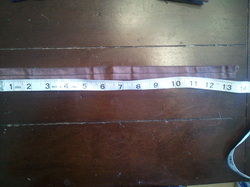
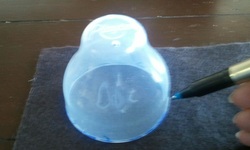
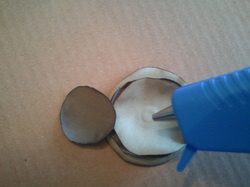
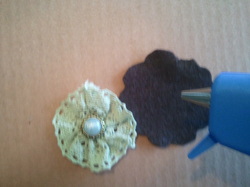
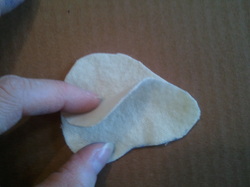
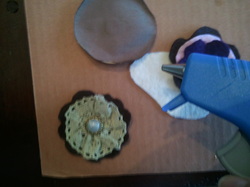
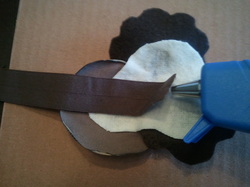
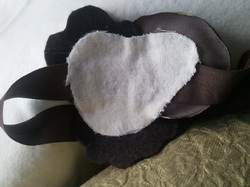
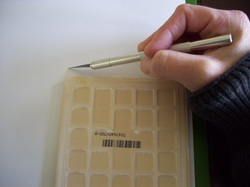 1) Give the tiles a good wash to get all of the dust off of them. 2) Place the tile on the back side of the paper and cut out. It doesn't need to be perfect but make sure there is at least 1/4 inch on each side. 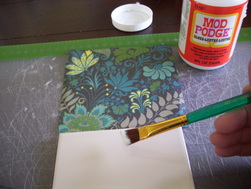 3) Paint the Mod Podge on the face of the tile and place paper. You need to do this quickly because it dries so fast. I usually place the paper where I want it and crease it to give me a guide before I put on the glue. That way the pattern isn't crooked when placed. 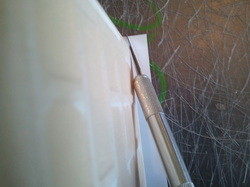 4) Turn the tile on its side and knife off the excess. This will give it a perfect fit over the edges. 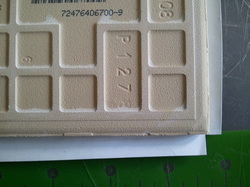 5) Notch out a square on each corner so the paper folds perfectly over the edges. 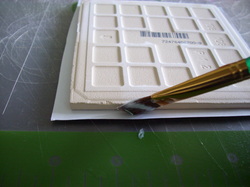 6) Paint the glue on the edges of the tile and fold over the paper. I did one side at a time because I found that it doesn't stick as easily as the smooth surface. It helps if you tilt the tile on its side and let the glue dry before doing the other edges. 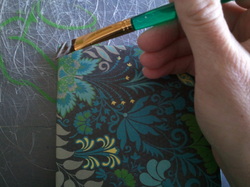 7) Paint Mod Podge onto the face of the coaster. You can use a liberal amount just make sure you don't leave any globs. Keep in mind that you will be able to see your brush strokes. Let the glue dry and repeat this step 5x. 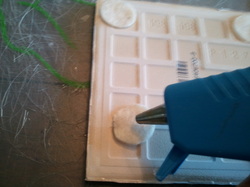 8) Use the precision knife and cut out 4 small, felt circles for each coaster. Cork would probably look better but I had felt lying around. I traced a big button to get a perfect circle. :) 9) Glue 4 felt circles to each coaster. Voila, you are Finished! 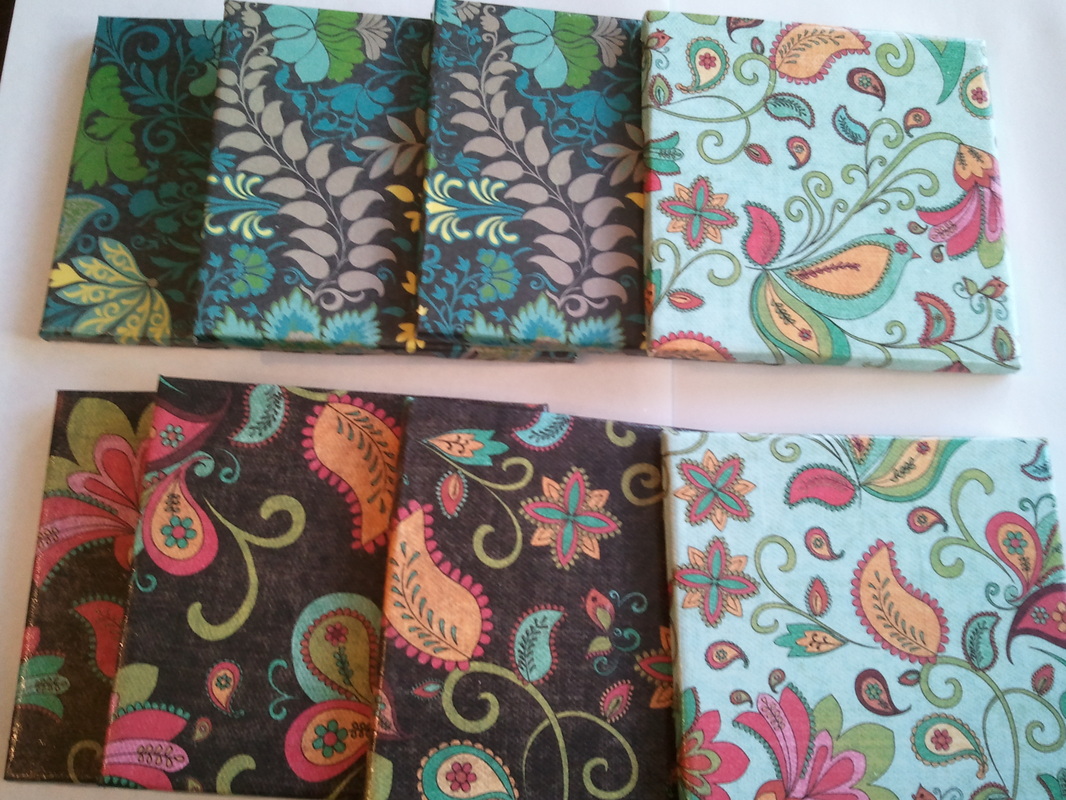 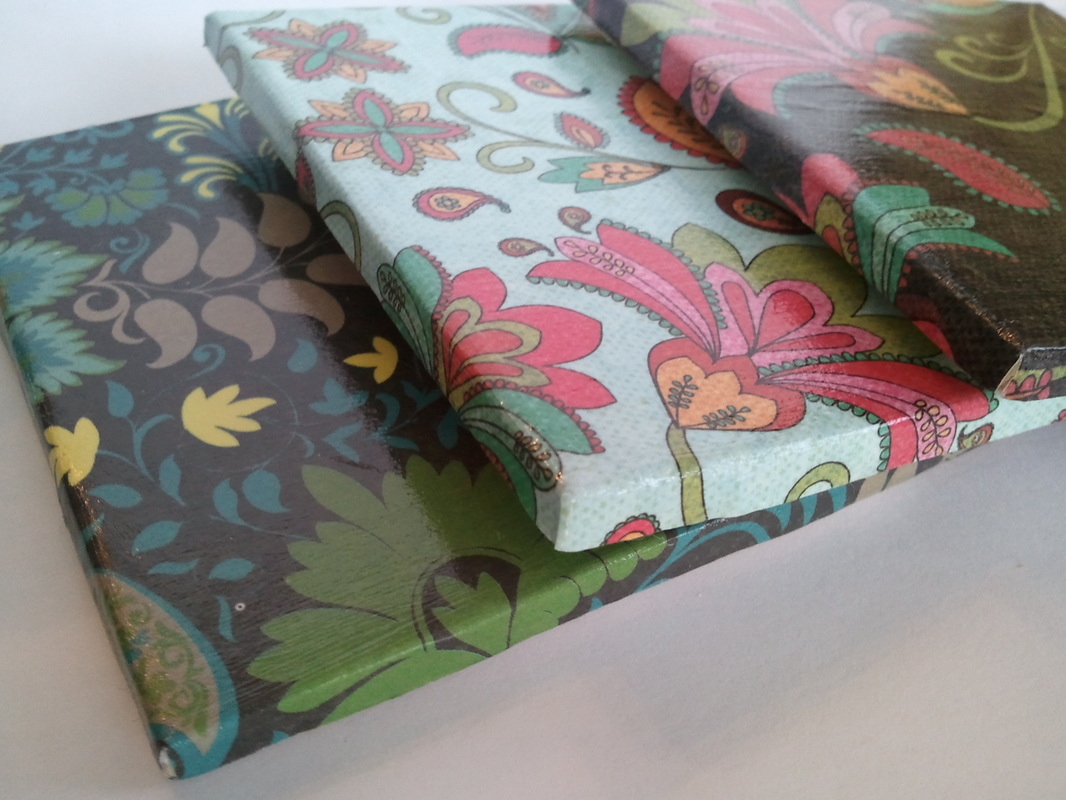 |
10 Comments

This weeks Cure for the Crazies... Unless you are lucky enough to con a back massage from the hubs, this almond lavender sugar scrub is perfect for relaxing! I was amazed at how well it worked. My skin gets so dry in the winter, so I usually spend a fortune on good hand/body creams. My hands get so dry they bleed. This scrub is wonderful for exfoliating and moisturizing. Best of all, it's cheap! All the ingredients are household items. The only thing I bought was the jar and that was $2.97! Ahhh...relaxing and saving money at the same time. 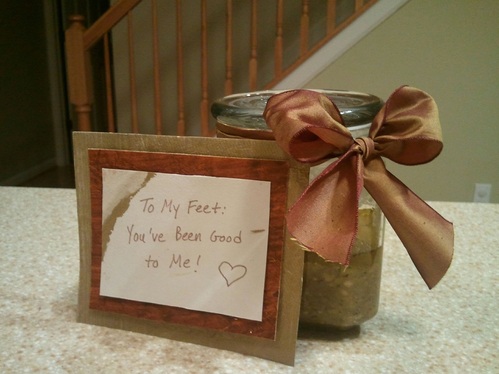 Ingredients: 1 c. sugar 3/4 c. olive oil 1 1/2 tsp. almond extract (Can substitute Vanilla extract) 2 Tbl. crushed, dried lavender (put fresh in the microwave for 3min) 1/4 c. oatmeal 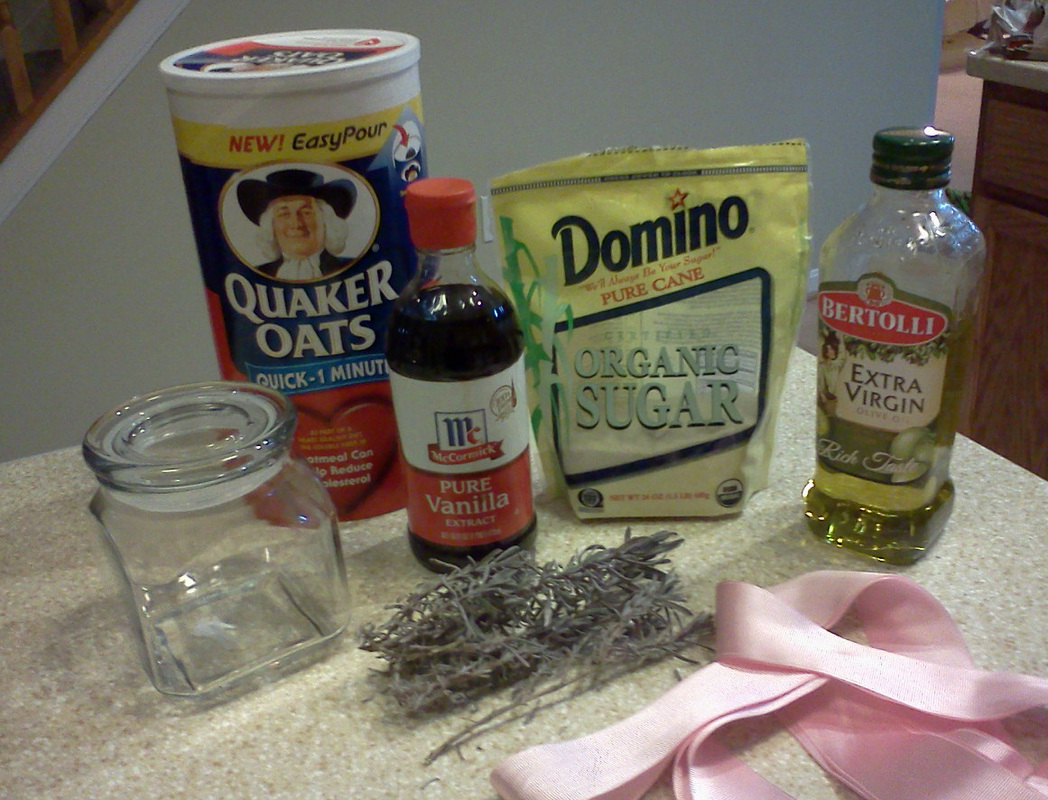 Have you tried this? Do you love it, like it or hate it? I would love to hear what your Cure for the Crazies is! My cure for the crazies this week...
| About the Author...Hi, My name is Audrey Frazier. Thank you for visiting. I am a wife and mother of two (2yr & newborn). I love my Lord and Savior Jesus Christ. I hope to share my thoughts, experiences and embarrassments with anyone brave enough to read them! CategoriesAll Get Your Sanity Button! | ||||||||||||||


 RSS Feed